Friday 28 April 2023

Victorian Policing - Chester le Street style

It's a wet evening in Chester le Street, and the Likely Lads have been in the Lambton Arms causing no end of bother.

The Market Square

A concerned citizen tells the desk Sergeant about suspicious activity

Cribbins and Phillips are sent out to deal with it.

But Mad Terry is seen with a shotgun outside the Joiners Arms.  Things are taking a dark turn

As suspected its a robbery in the making.

Phillips uses his whistle to summon help.

But Cribbins runs for it.  We've seen this before from the boy!

Confrontation on the bridge.  Bad Bobby Bewes fires at the Inspector.

Some of the lads can't take this.  Gazza the fish and Jimmy Five bellies run for it.

Only Bad Bobby and his trusty luger pistol stay on the bridge.

But Bobby's shooting is a disgrace.

The Chester Le Street Constabulary give a well aimed volley, proving once again that they have the measure of the Likely Lads.

Bob is taken into custody, and the gang turn to Mad Terry to bust him out.  Bob however will probably want to stay in jail and avoid confronting his wife, the terrifying Thelma Bewes.

Wednesday 26 April 2023

Clear the Trench, Austria Russia, 1914

Clear the Trench!

October 1914

Leutnant Heinz Schloup and his Austro-Hungarian platoon are once again in the thick of it near the village of Kapisodze, having entrenched above the ford across a river with muddy and marshy banks. 

Opposite him Russian Lieutenant, deranged Baron Vladimir, has decided on a night attack on the village; an attack undertaken without artillery preparation in the interest of achieving surprise.    

The Russians must cross the river and climb the banks in order to get to the enemy trench works.  However, the Austrians have learned of the attack and stood to.   

This scenario0 is taken from a historical action (although the defenders were German rather than Austrian.)


Russian Briefing

Young Baron Vladimir the Deranged

Heavy Maxim gun and 4 crew

Platoon Sergeant

1st Section
Ten riflemen, two with grenades. Green troops. (Die Hard)
2nd 
Section
Ten riflemen, two with grenades. Green troops. (Die Hard)
3rd Section
Ten riflemen, two with grenades. Green troops. (Die Hard)
4th Section 
Ten riflemen, two with grenades. Green troops. (Die Hard)

The Lieutenant and Maxim crew begin in the farmhouse.  The other sections and platoon Sergeant begin on the baseline behind.


Austrians
Leutnant Heinz Schloup

Feldwebel Frederich Frankfurter

Sniper "Steady" Hans.

1st Section
Eight riflemen, Experienced troops. (Marksmen)
2nd Section
Eight riflemen, Experienced troops. (Marksmen)
3rd Section
Eight riflemen, Experienced troops. (Marksmen)
4th Section
Eight riflemen, Experienced troops. (Marksmen)

One Section is in the Trench, and steady Hans is at the nearest point to the farmhouse.  The other sections are off table behind the Trench line waiting to come forward.


One player is the attacker and is tasked with  crossing the river, while the other player is  tasked with defending the river crossing

SETUP 

The Austrians are defending  the river crossing and which will be attempting  to force their way across the river. The board  should be setup with a river running down the  center of the board from the attacking player’s  right to left. The attacking player should roll  on the weather table and apply the results, this  roll can be re-rolled with a Bite the Bullet, if  so desired. A bridge should be set up crossing  the river in the center of the board. A ford  or a smaller bridge should be set up 4” away  from either the right or left side of the table;  the attacking player decides which side. The  river can only be crossed at a bridge or at the  ford. The ford cannot be crossed by armored  cars. The deployment zones are 12” to 18”  measured from the centerline of the table.    Starting with the attacking player, players  alternate placing units in their deployment  zone, until all units are deployed.

BRIDGE BREAKTHROUGH GAME LENGTH 8 Turns

VICTORY CONDITIONS The attacking player is trying to get their  troops across the river, while the defender is  trying to stop the crossing. If at the end of any  turn the attacking player has at least 2 core  unengaged and not shaken units completely  across the river, the attacking player wins. If  the attacking player has not achieved this by  the end of turn 8 the defending player wins.

Bidding.  I roll two d6 off.  The Rissians smash it.

Vladimir and his HMG team go down hidden

The Russians use the initiative to surge for the bridge.

Whilst the platoon sergeant leads a group into the right of the trench line.

The Austrians advance to get their groups forwards.

The Austrians on the firing step shoot at the advancing Russians, but are countered by that HMG.

Baron Vlad gets a group into the left of the French line, but is caught by the wire.  The losses are huge.

Even boring the bullet the Russians lose the group, and Vlad is killed.

Of course for my games Glad will survive and crawl back to the Russian lines... Somehow.

A good game of Blood and Valour, really enjoyable.


Proudpole at Coronel, 1914

It's 1914 and Admiral Sir James Proudpole and the South Atlantic Squadron have tracked a German Commerce raiding squadron around Cape Horn.  

Game 2

Around the Cape

The British and German Cruiser Squadrons clash.

The Germans at full steam ahead

And the RN almost ready for a fight.

The German heavy cruisers turn and salvo.

The RN reply is not so accurate

Although Cressy gets a hit.

With the range coming down the German fire loses some of its  accuracy

Range still decreasing

The RN fire is still poor.  That AMC should not really be joining in.

But the RN gets the range

As do the Kriegsmarine

The German light cruisers swing past, and try torpeodes


And the next German salvo is devastating.

Black Prince slews out of line, sinking.  Cressy has lost all of her turrets.  Its pretty much done.

The British light cruisers flee.  We will need a couple of Battle cruisersvto deal with these Germans.  
Fortunately...
Next game the Falklands 1914

What a Cowboy Scenario 1, High Noon

The Ballad of the Midnight Rider

As I walked out in the streets of Purgatory

As I walked out in Purgatory one Night ...

The Cast
Former 10th Cavalry Troopers
Woody Stroke
"Granny" Lover
Weasley Snipes
Cimarron Freeman
Buckshot Fishburn
Denzel Wessingtun
Fresh-Prince Willy
Samuel L Deadshot
Idris Elbows

The Vigilantes
Squint Eastwood
Dynamite Jackson
Slim Hipster
Wildfire Willie
Rattlesnake Jake
Bulletproof Brown
Texas T-Bone

Possible identities of the Midnight Rider
Mayor Black Bart Maverick
Reverend Jesse Jamison
Slap O'Finnigan, Ranch owner
Snakeoil van Trompe

And the Ladies

Buffalo Billie Jean
Honky Tonk Harriet owner of the Rockin' K
The Outlaw Queenie
The Lone Star Lass
Calamity Jackie 

County Centre

Township of Purgatory, Hellfire County Texas, Pop 112

Inner trail

1.  The Slippery A Ranch

2.  The Rocking K

3.  Railway canyon

4.  Dead Horse Springs

5.  The Jezabel Silver Mine

6.  The Sheep farmer's cabin

Outer Trail

1.  The Rustler's trail

2.  Buch's Hole

3.  Rattlesnake Watering hole

4.  The Rocking A Ranch

5.  The 'Pache reservation

6.  The old mission 

Scenario 1.  High Noon.  The Midnight Rider and his murderous lynch mob appear at the Rockin' K Ranch.  The vigilantes have however been tracked by a group of former soldiers lead by Sergeant Major Samuel L Deadshot.  Its a classic showdown.  The Cavalrymen are attempting to  clear the vigilantes out of the territory.  

The Defender selects one table edge as their  Deployment Edge.  The opposite table edge is the  Attacker’s Deployment Edge.  The Attacker places  one of their Characters onto the table within 6” of  their Deployment Edge.  The Defender then places  a Character within 6” of their Deployment Edge.   Players continue to place Characters alternately  until all are placed on the table.  Shuffle the  Activation Deck and draw the top card to begin  play.

The game ends when one side fails their “Ride or Die” Test and flees or voluntarily concedes at the end  of a Turn.

Experience Bonus:  A Character gains +2 Reputation for each opposing Character they take Out of  Action.

The Midnight Rider.  Vigilante, Real identity unknown

Slim Hipster, Rustler and vigilante

Woody Stroke, Foreman of the Rockin' K

Slap O'Finnigan, Owner of the Slippery "S." Possibly the figure behind the Midnight Rider.

Weasley Snipes, former soldier.

Granny Lover, former Soldier and dry goods store owner

Denzel Wessingtun, former soldier now hair tonic salesman

Samuel L Deadshot, former 10th Cavalry Sergeant Major.

The game plan

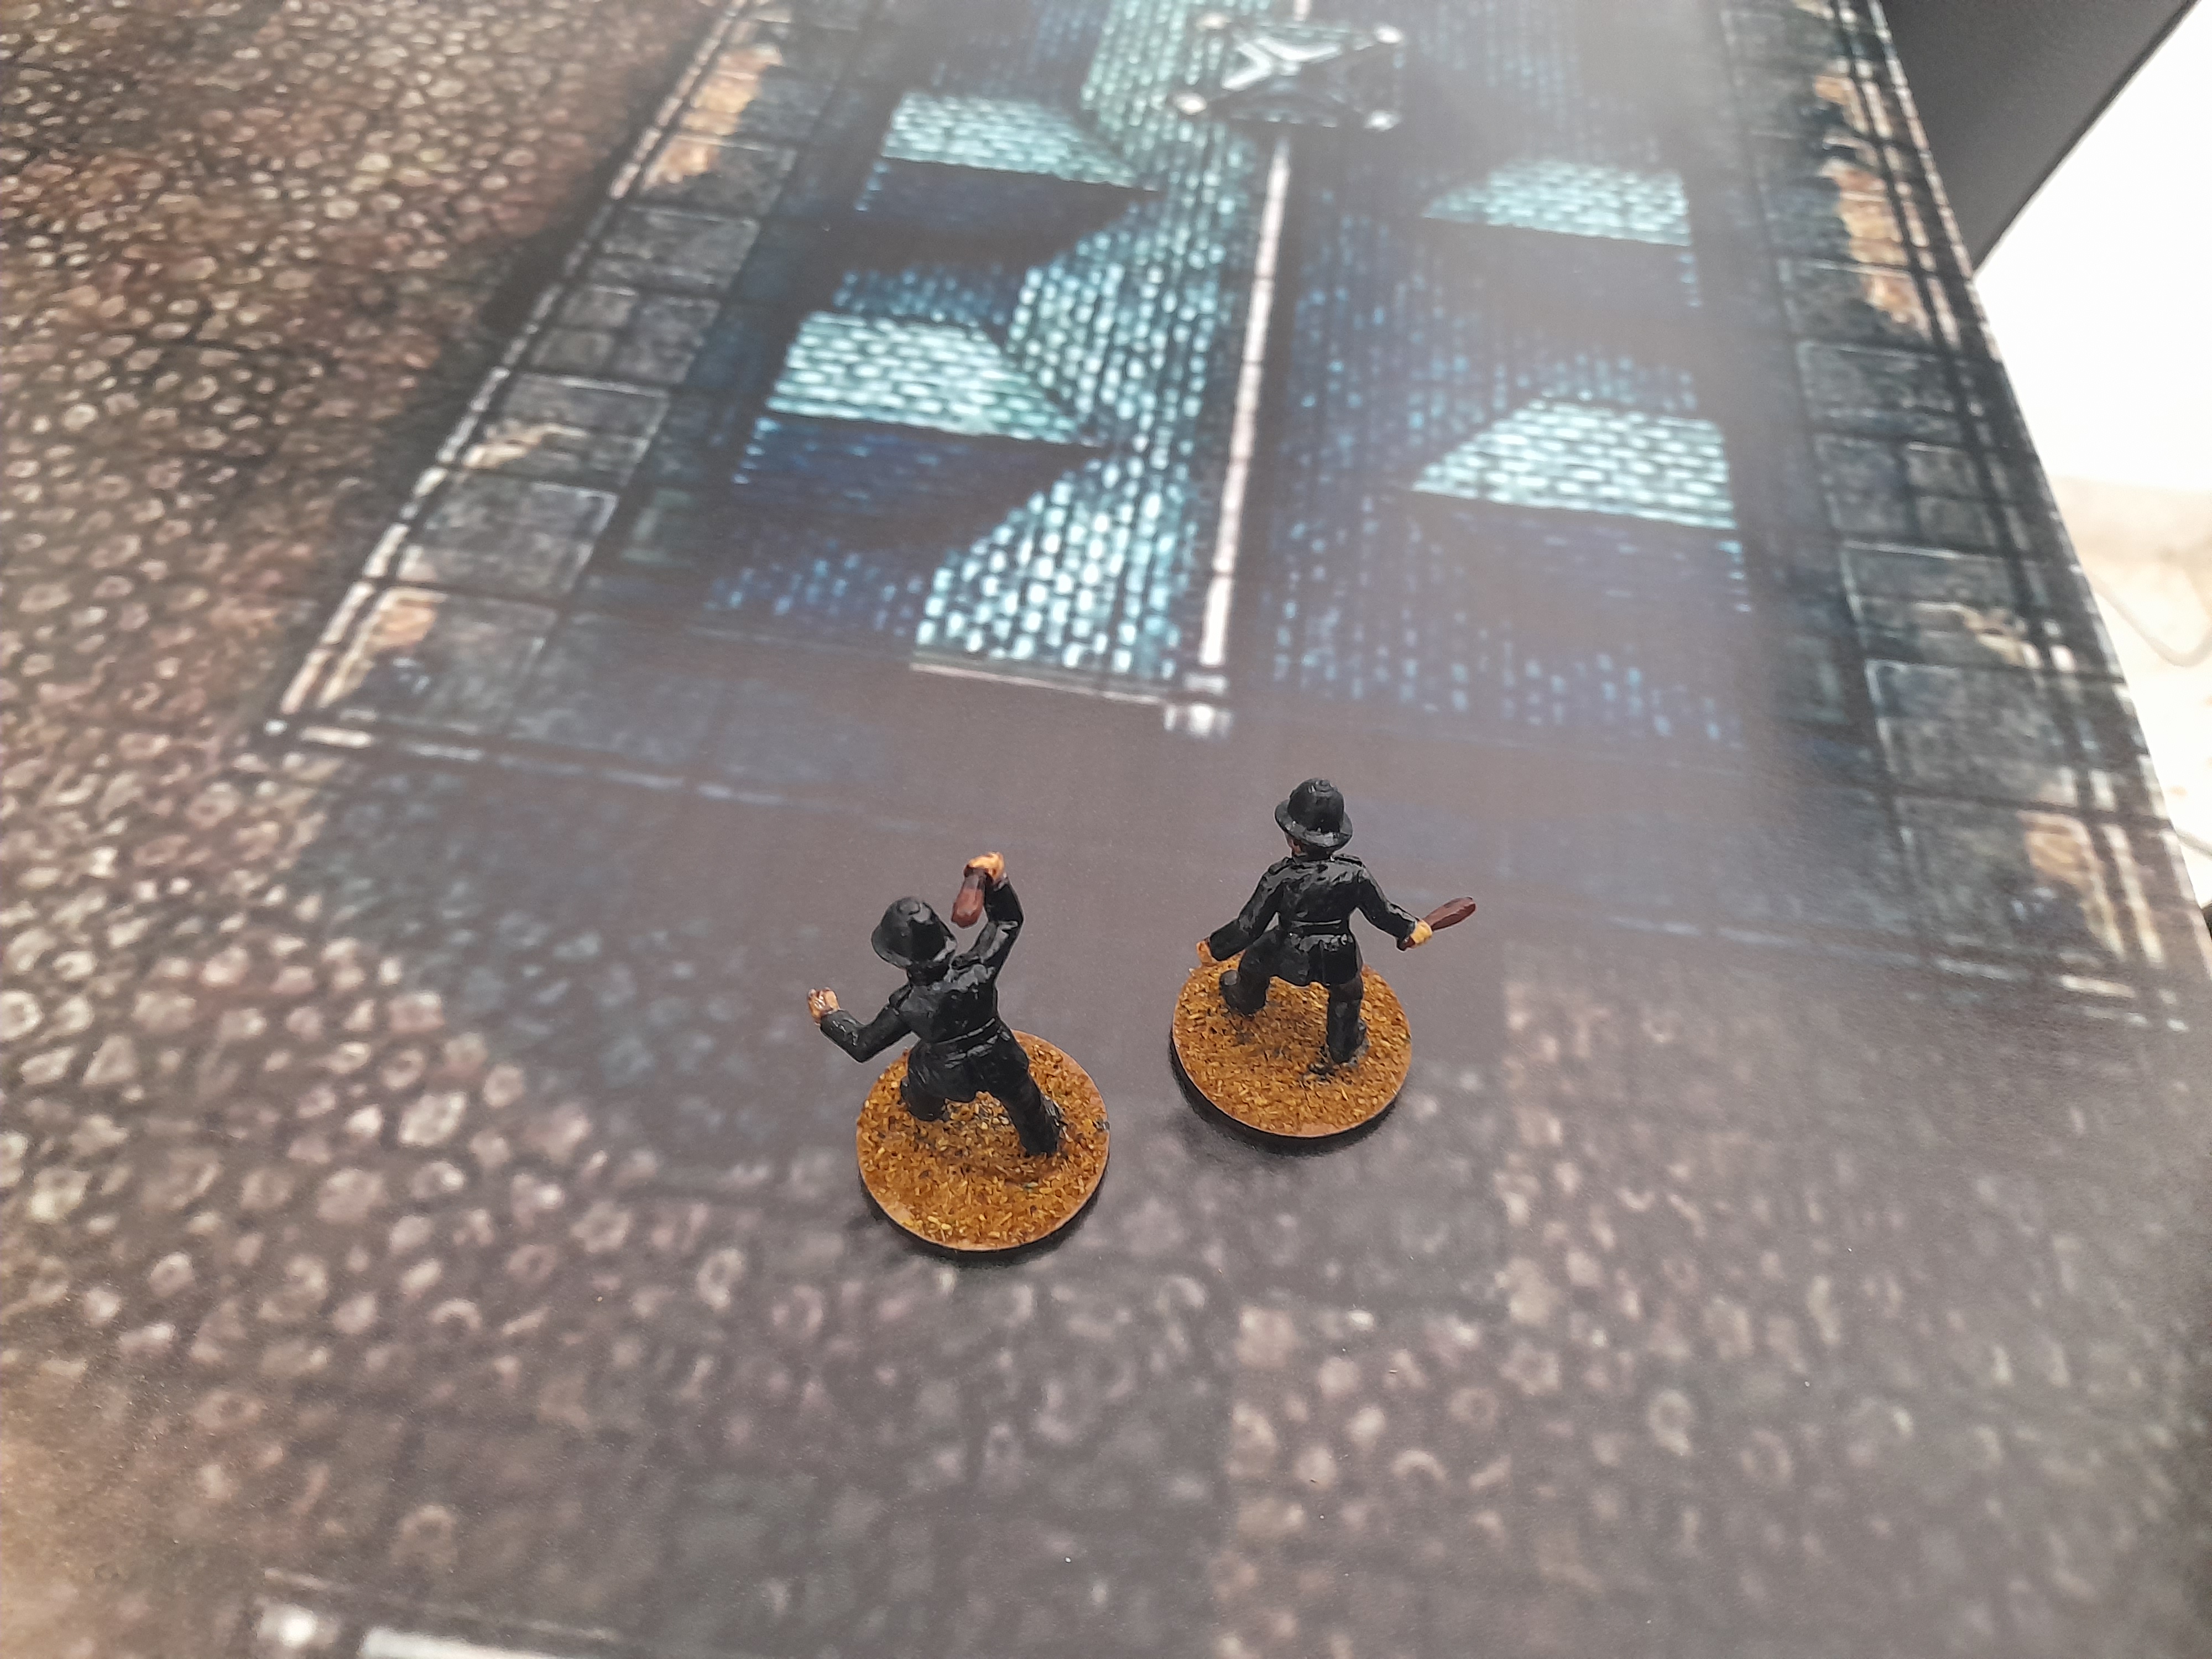
The Rider and his gang advance cautiously.

Samuel takes cover as Denzel and Woody advance.

Denzel puts a couple of lucky shots into Slim.  Slim goes down shot in the head.

Samuel L puts an aimed rifle shot into the Midnight Rider, hitting him in the leg.

Slim down, the Rider wounded

Woody stalks around the barn, sawn off ready.

Denzel and Samuel L advance down the trail.

Once again Rattlesnake gets no movement dice or aces high to convert.

The Rider runs off, heading for the hills.

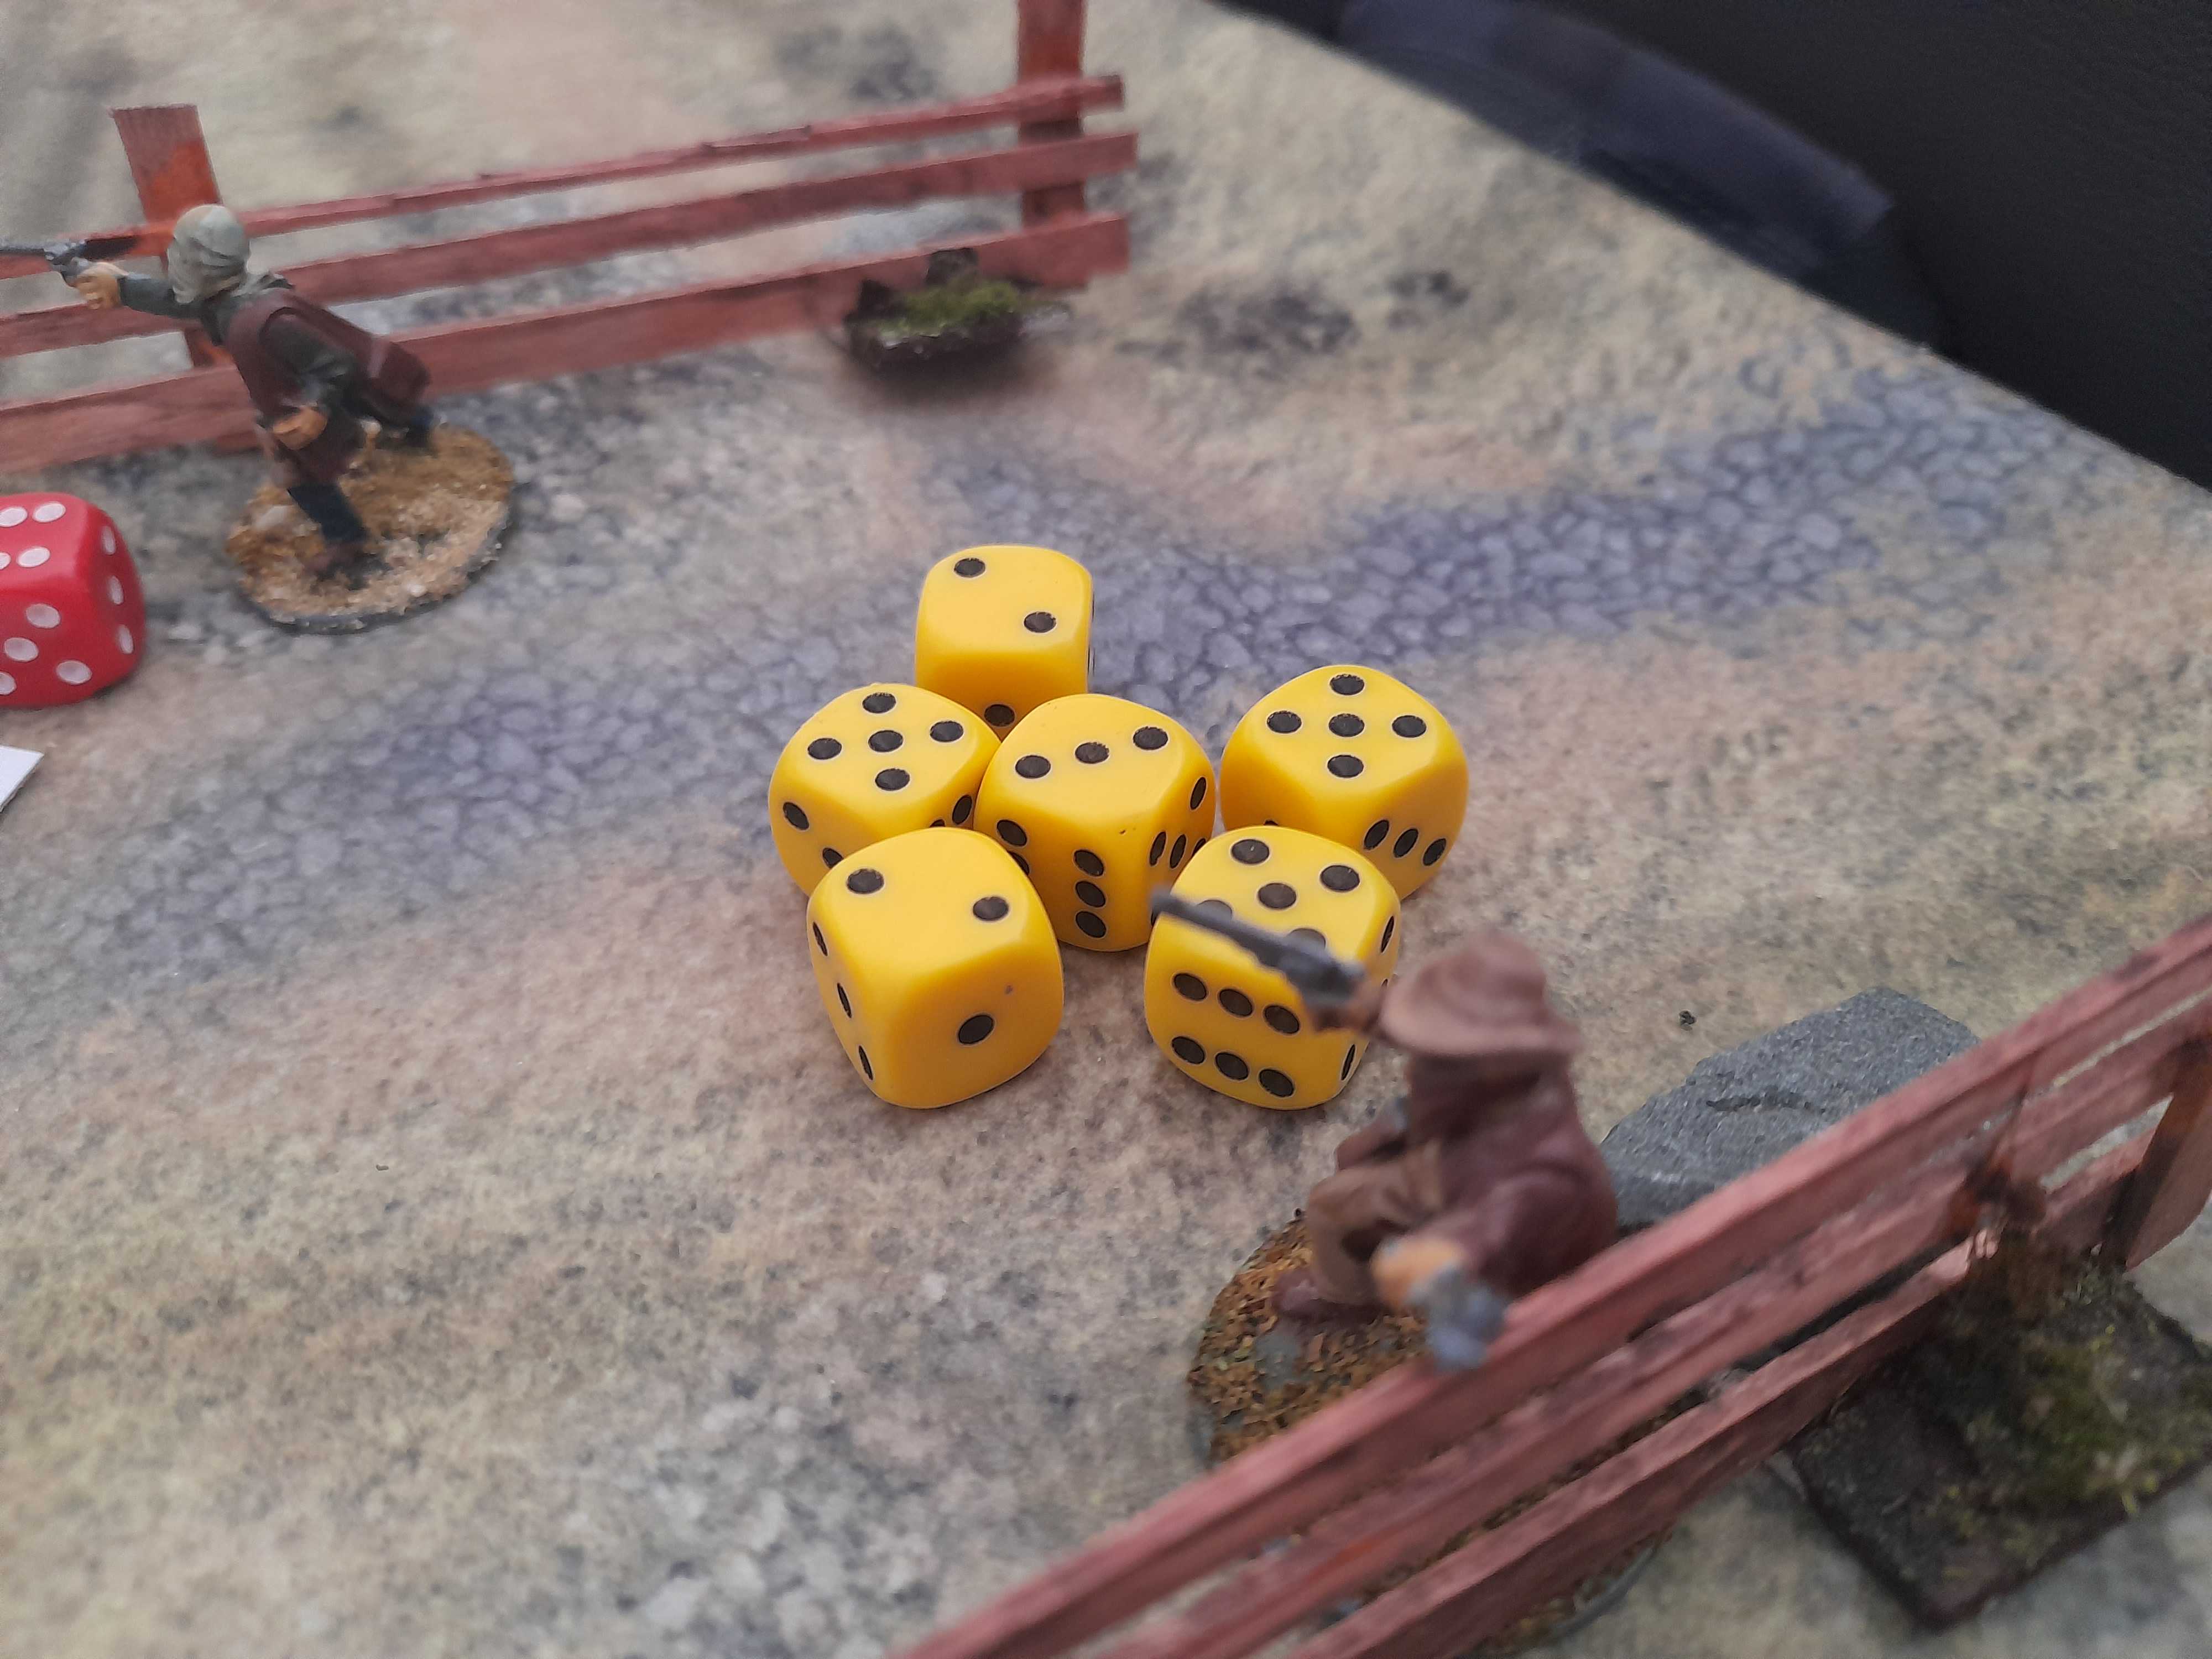
Woody looses the sawn off at Rattlesnake.

And Woody ain't messing about.

Rattlesnake Jack hit twice.

The critical hit takes out a leg. Well he wasn't using it.

A win for the Rockin' K. 

All three of my Greenhorn characters are promoted to shootists.  Fair enough since they're ex Buffalo soldiers.

Can the Midnight Rider strike back in the next episode.  Maybe so partner.