Scenario Five The Goldberger Feld


Due to the reports about enemy forces being closer by than expected, some troops have been sent out to control local, key sites. The attacker’s orders are to scout the enemy, not engage in any major fighting but report back to HQ as soon as possible.
SET UP
Both sides choose 24-point Company. Table size 48" x 48". Divide the table into areas of equal size (4 24" squares) and place terrain, at least half of the table should be open field, a North/ South going road, and a West/ East Stream. Somewhere within each area, place a marker of some kind – a cairn of stones, a hill, a small cabin, a ford – which indicates the ‘key site’ in that area to be scouted. Take it in turns to place these but add only one per area. The defender then places all non-skirmish units freely on the table, no closer than their firing range from any table edge or in contact with any of the markers. (See special rules for deploying the other units.) The attacker then places all units along the North, North West, or North East zones.
SPECIAL RULES
Due to the darkness, no Firing is allowed in the first turn and in turn 2– 6 the line of sight is only 12". The defender keeps all Light Infantry, Skirmishers, and Natives units off the table. Note down which area you wish to deploy them in and keep this secret. At the start of any of your activations, you may reveal one or more of your units’ locations and deploy that unit anywhere in the noted area but no closer than their Speed value to any enemy unit. The unit may not take any further Action this turn but may be activated as usual next turn. To successfully scout an area, an attacker’s unit must spend one turn in contact with the marker. Once this has been done, it may move off having successfully scouted that area.
ENDING THE SCENARIO
End the scenario if the attacker has successfully scouted all key sites or choose to leave the table.
OBJECTIVES
For attacker:
+ 1 Honour if scouted 1 key site.
+ 2 Honour if scouted 2 key sites.
+ 3 Honour if scouted 3 key sites.
+ 4 Honour if scouted 4 or more key sites.
+ 2 Honour if your Company have taken less than 33% casualties.
For defender:
+ 1 Honour if the enemy didn’t successfully scout 2 key sites.
+ 2 Honour if the enemy didn’t successfully scout 3 key sites.
+ 4 Honour if the enemy didn’t successfully scout 4 or more key sites.
+ 1 Honour if your Company managed to cause more than 33% casualties to the enemy.
The Game
White
Colonel Malaprop
Major Spôoner
1 x Grenadiers @6, 3 x Regular Line Inf @12, 1 x Light gun @4, 1 × skirmishers @2
Blue
Oberst Joachim von Pumphosen
Major von Smallhausen
Hauptmann Frederick Schlagg
1 x Grenadiers, Large unit, Aggressive @8, 3 x Regular Line Inf @12, 1 × Dragoons @4
 |
| The Goldberger Feld |
 |
| White's Jager skirmishers are ambushed by lurking Dragoons |
 |
| And a gun opens up on the flank. |
 |
| but White's line Musketeers give the gun a volley at long range and kill two of the crew. |
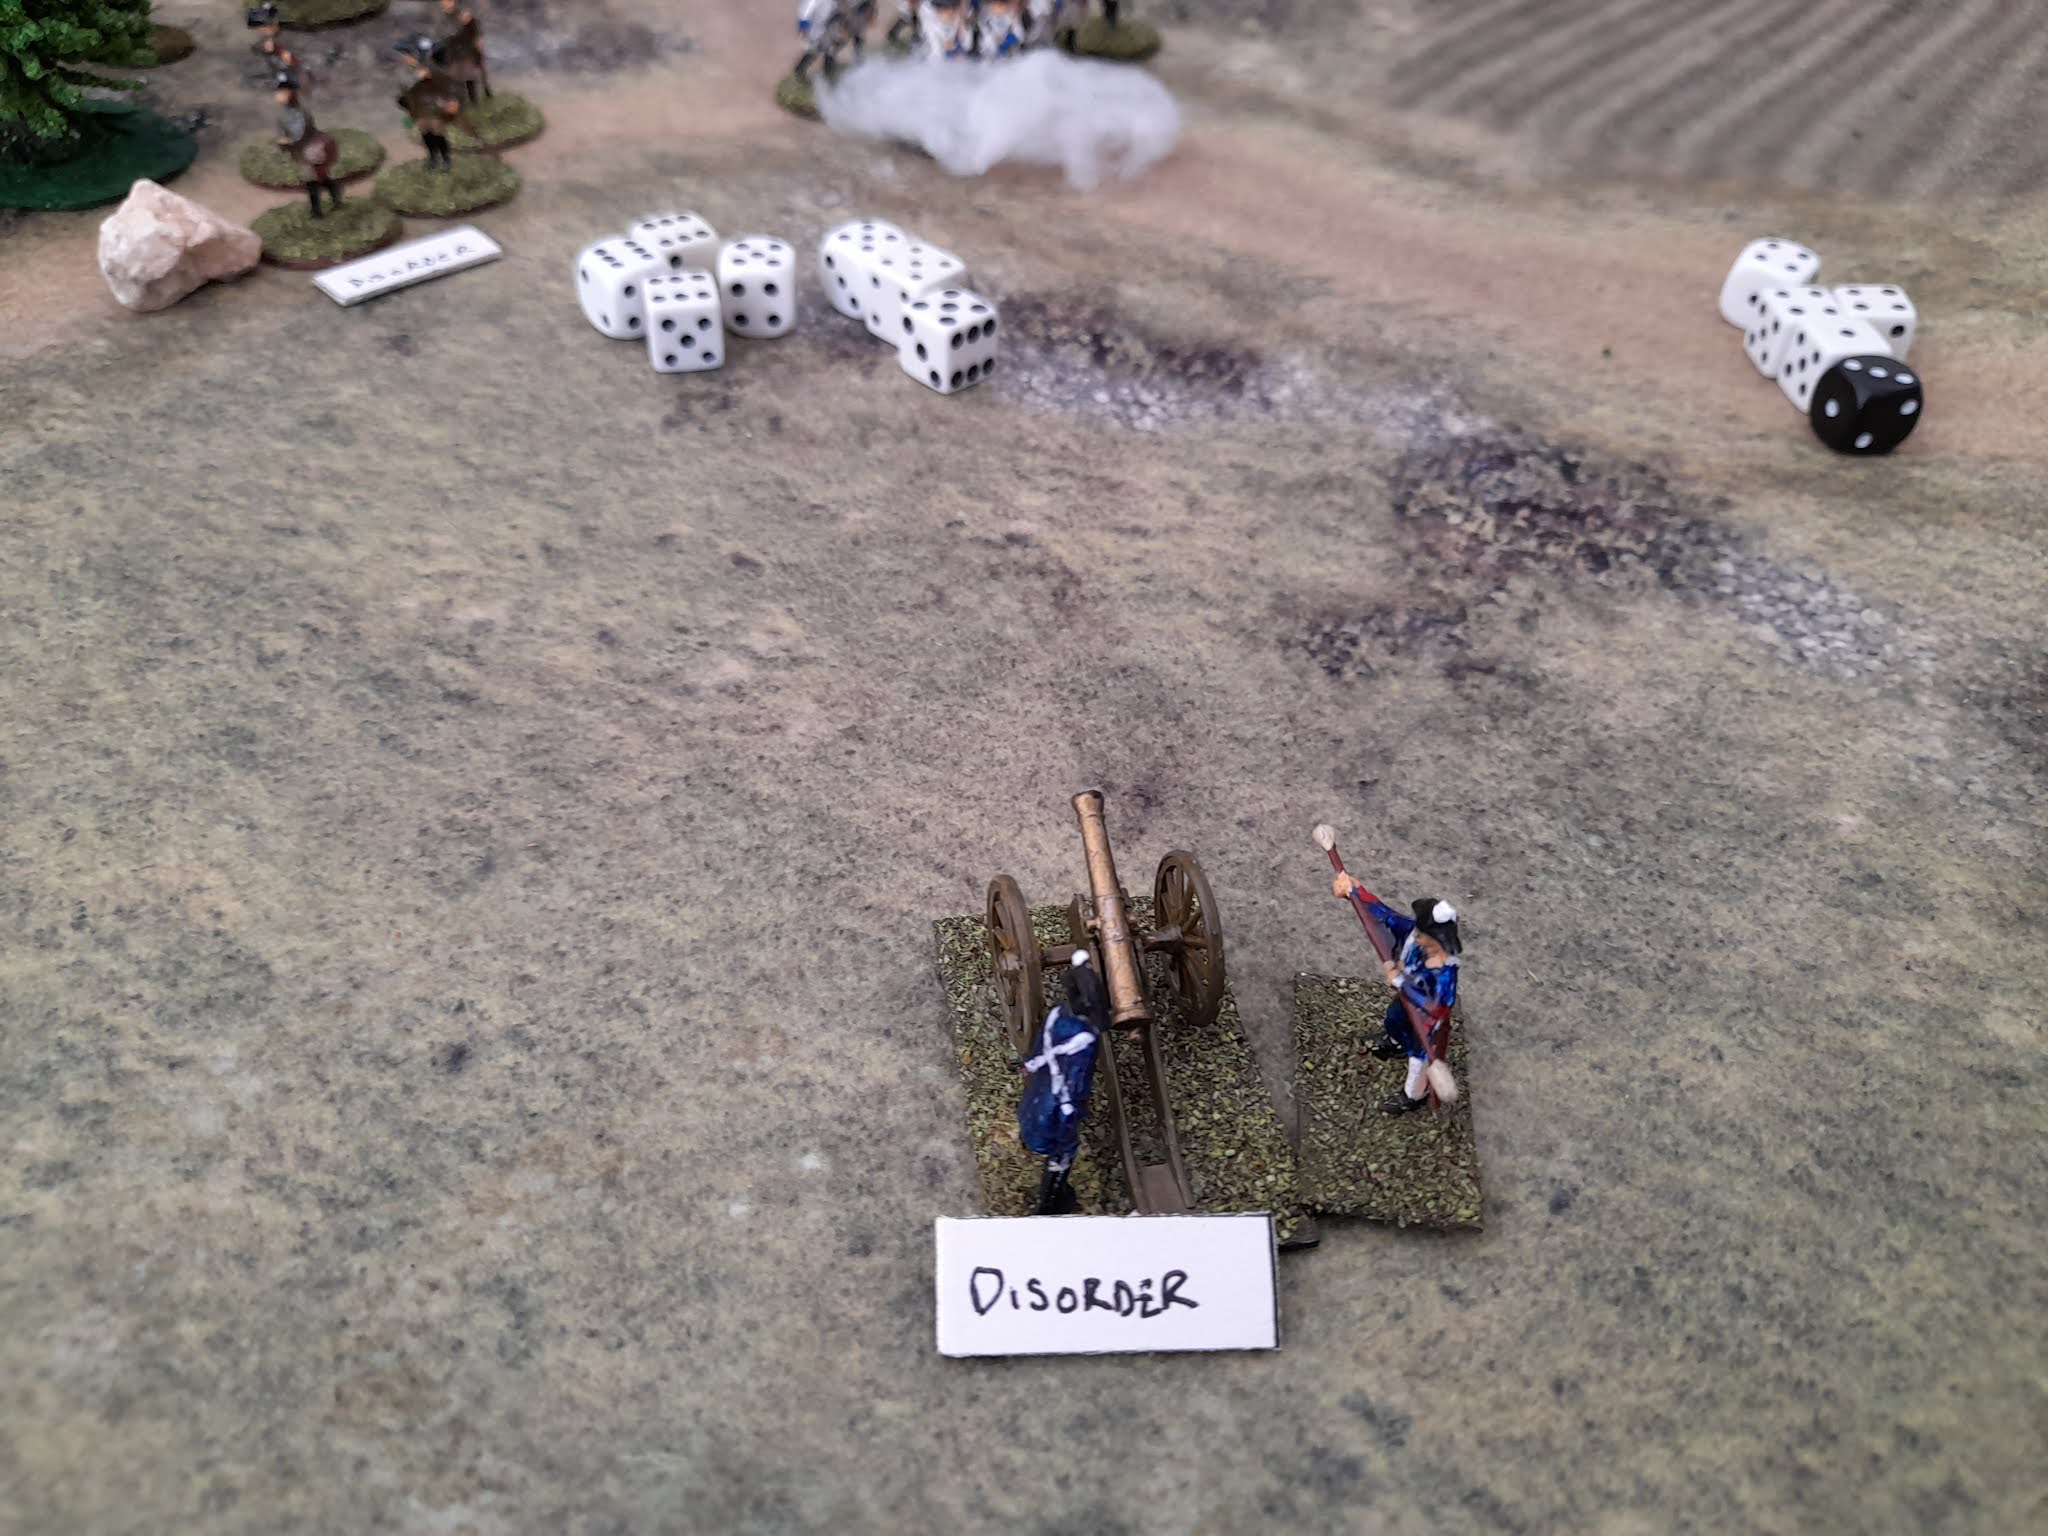 |
| That's got too hurt |
 |
| The real threat however is showing up on the right. |
 |
| White's skirmishers capture the second marker. |
 |
| Blue's musketry needs some work |
 |
| White clears the left, dealing with the gun and the Dragoons. |
 |
| Sensing that the battle will be decided on the right now White forms a line. |
 |
| And sure enough Blue turn up with their own line. |
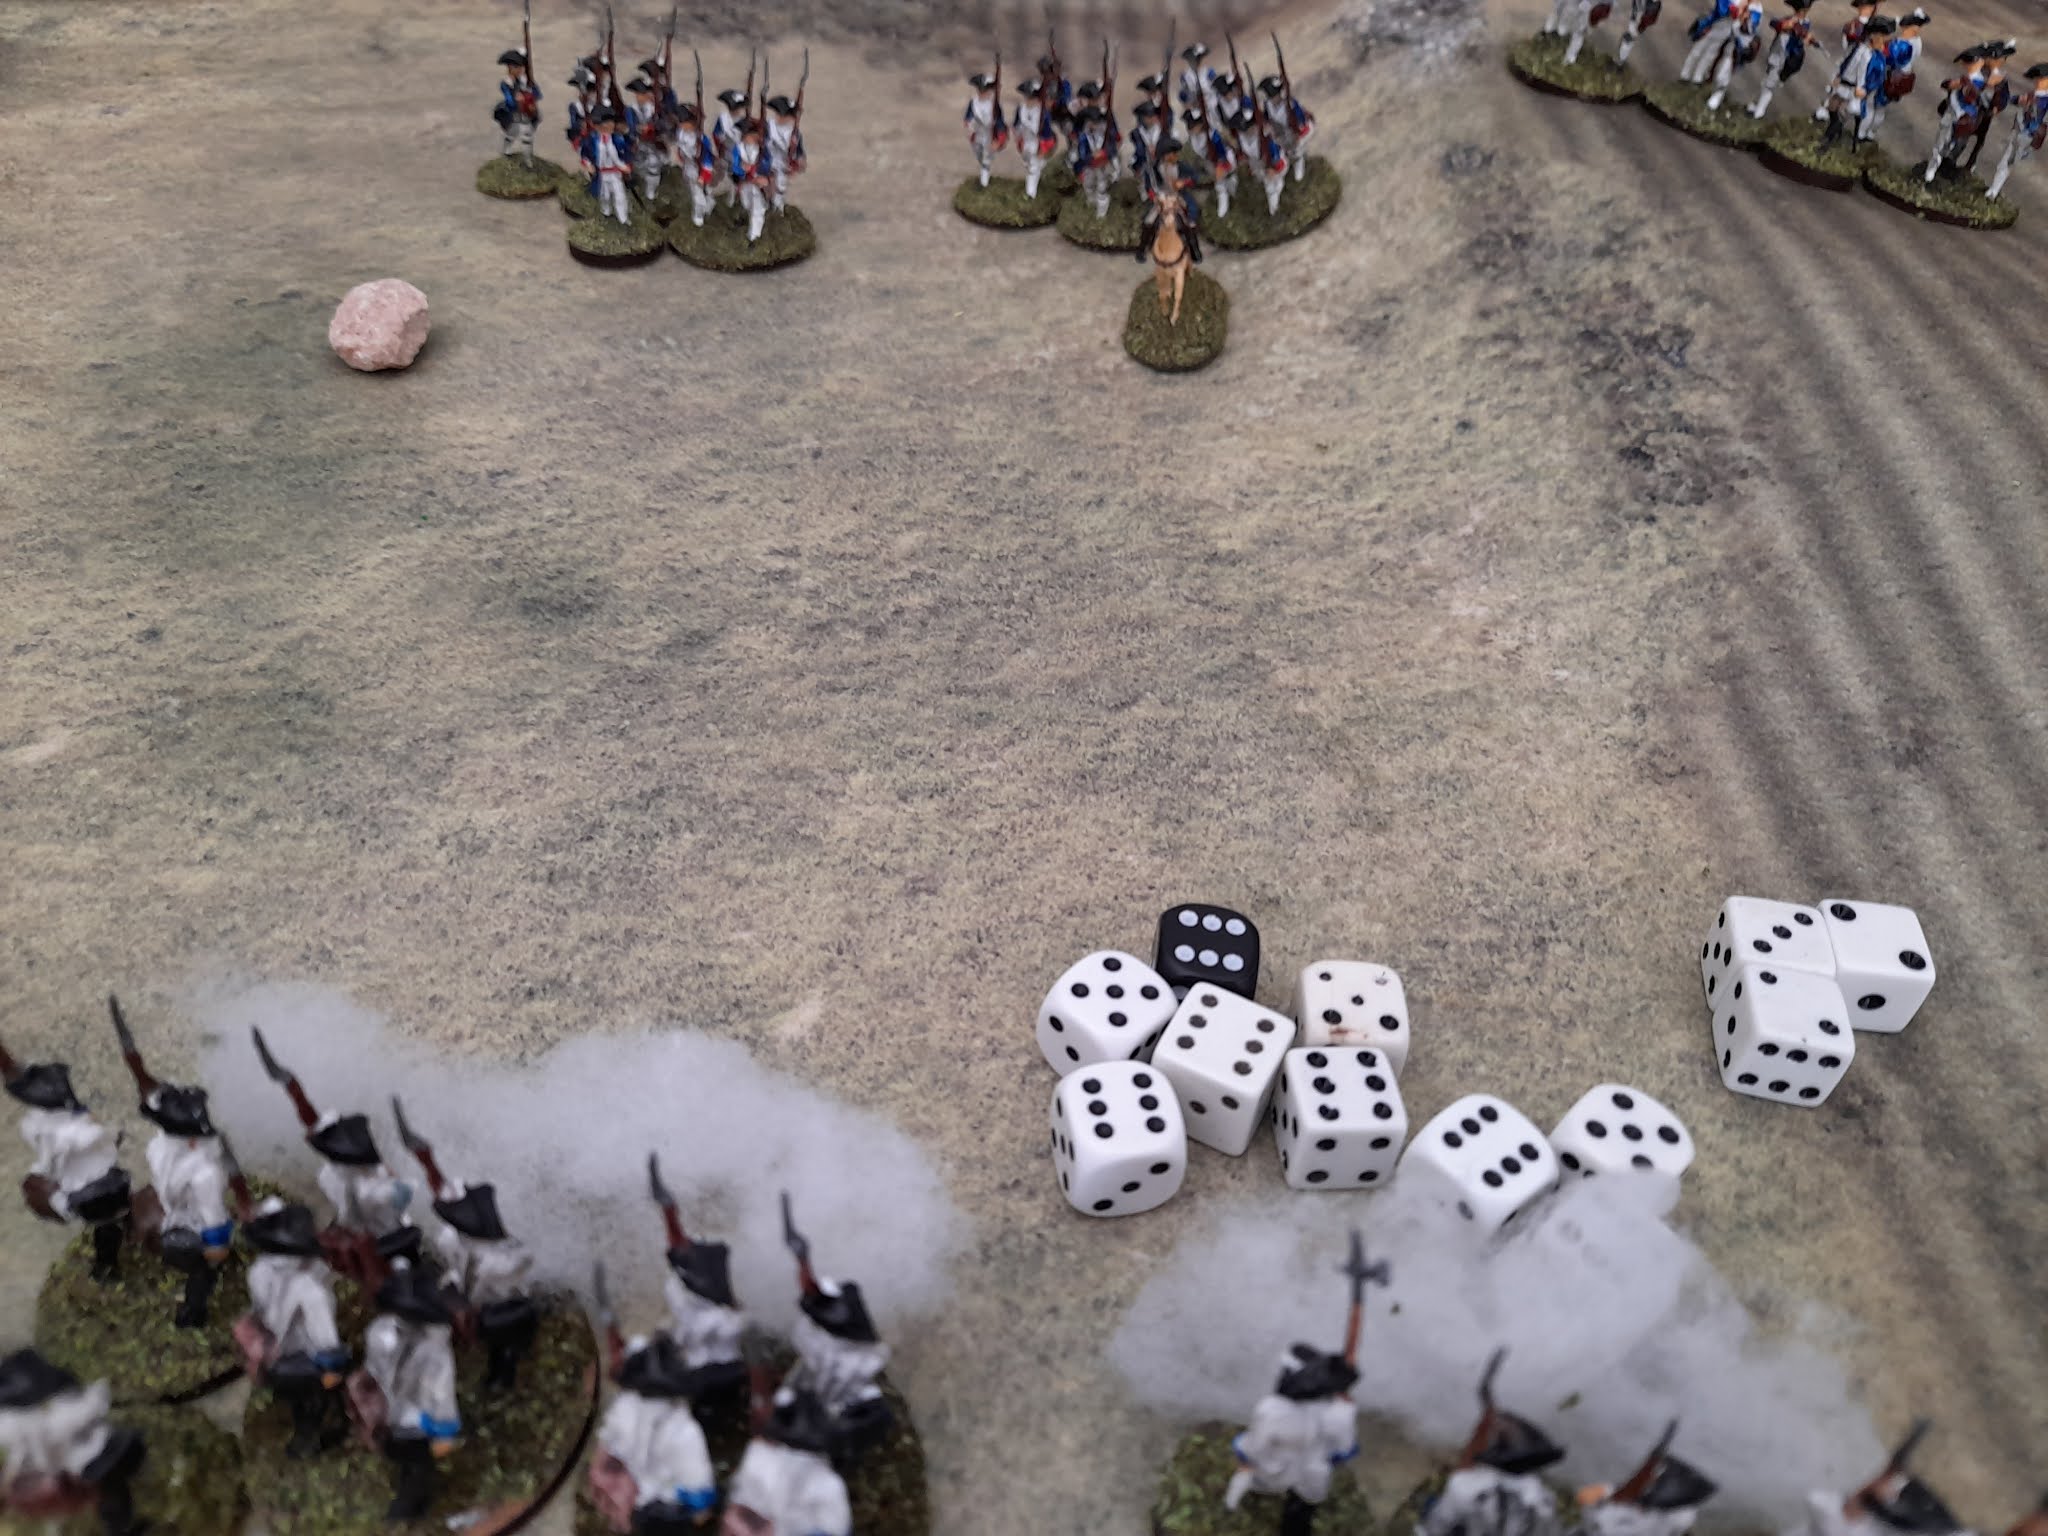 |
| Platoon fire down the line, and White dominate. Those damn Blue Grenadiers haven't shown up yet! |
 |
| White do not get it all their won way. That dice roll is one for the record. Not a single hit on twelve dice |
 |
| But the general trend of the fight is going White's way. |
 |
| But there are losses on both sides. |
 |
| The breaking point arrives and Blue collapses. |
 |
| And the White Grenadiers capture the third marker. |
A famous and rare White Victory
Honour Points
White 25
Blue 34
No comments:
Post a Comment